How to Edit a Real Estate Video? A Beginner’s Guide (2026)
Here’s the thing. Real estate video editing is no longer about flashy effects or dramatic music. It’s about clarity, trust, and helping a buyer imagine themselves inside the space. A well-edited video can sell a lifestyle, not just a property. A poorly edited one can make even a premium listing feel average. In this article, I will explain how to edit a real estate video and provide useful techniques for Real Estate video editing.
Let’s break down 10 real estate video editing techniques that actually work and why they matter.
What is Real Estate Video Editing?
Real estate video editing is the process of refining raw property footage to present homes in a clear, engaging, and realistic way. It involves trimming unnecessary shots, improving lighting and color balance, stabilizing footage, and arranging scenes in a natural walkthrough sequence. The goal is to highlight space, layout, and key features without exaggeration, helping potential buyers understand the property better and visualize how it would feel to live there.
How to Edit a Real Estate Video? An Ultimate Guide (2026)
Here are some essential techniques for editing a real estate video.
1. Start With a Strong Hook in the First 5 Seconds
Attention is fragile. Most viewers decide whether to keep watching within the first few seconds. Your opening shot sets the tone for the entire video.
Use your strongest visual first. This could be a wide exterior shot, a beautiful living room with natural light, or a smooth drone shot approaching the property. Avoid long intros, logos, or agent monologues at the start.
What this really means is simple: show the value before you explain it. Let the property speak first.
2. Use Smooth Transitions, Not Distracting Effects
Transitions should guide the viewer, not steal attention. In real estate videos, simple cuts, gentle cross-dissolves, or natural motion-based transitions work best.
Avoid heavy wipes, spins, or flashy effects. They break immersion and can make the video feel dated or unprofessional. Buyers want to focus on space, layout, and flow.
A good rule of thumb: if the transition draws attention to itself, it’s doing too much.
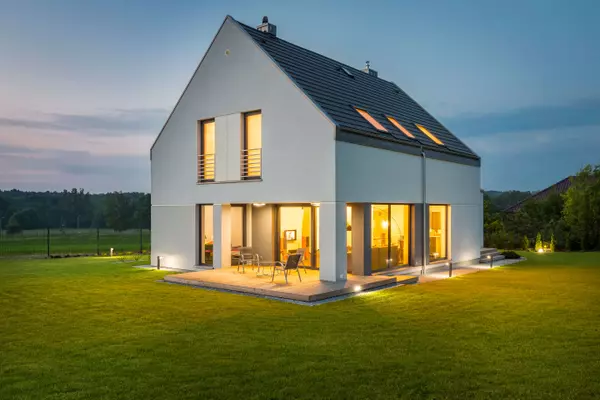
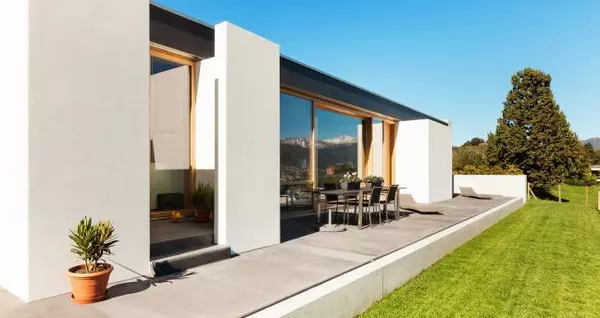
3. Maintain Natural Color Correction and Lighting Balance
Color grading can elevate a video, but overdoing it can hurt credibility. Homes should look inviting and realistic, not artificial.
Correct exposure first. Balance whites so walls look clean, and ensure colors reflect real-life tones. Warm tones often work well for living areas, while neutral tones suit kitchens and bathrooms.
Consistency is key. Every room should feel like part of the same home, not a different property.
4. Keep the Video Length Buyer-Friendly
Long videos don’t always mean better videos. The goal is to inform without exhausting the viewer.
For standard listings, 60 to 120 seconds works well. Luxury properties can go longer, but only if every shot adds value. Trim repetitive angles and avoid showing the same room multiple times from similar perspectives.
A tight edit shows confidence. It tells the viewer you respect their time.
5. Use Music That Matches the Property’s Personality
Music shapes emotion. The wrong track can ruin an otherwise great video.
Choose background music that matches the property type. A modern apartment pairs well with soft electronic or minimal beats. A family home suits warm, relaxed acoustic tones. Luxury homes often benefit from subtle cinematic music.
Keep the volume low. Music should support the visuals, not overpower them. The property remains the star.
Related Article- AI in Real Estate Video Editing: What’s Changing in 2026?
6. Show Logical Flow Through Smart Sequencing
The order of shots matters more than people realize. A confusing sequence can make a home feel disjointed.
Edit the video to follow a natural walkthrough. Start from the entrance, move through common areas, then private spaces like bedrooms and bathrooms. End with outdoor areas or a standout feature.
This flow helps viewers mentally map the home, making it easier to imagine living there.
7. Use Text Overlays Sparingly but Strategically
Text overlays can add clarity when used with intention. They work best for highlighting key features without repeating what the viewer can already see.
Examples include square footage, number of bedrooms, location highlights, or unique selling points like sea view or private garden.
Keep fonts clean and readable. Avoid clutter. One clear message at a time is enough.
8. Stabilize Every Shot for a Professional Look
Shaky footage instantly lowers perceived value. Even a beautiful property can feel cheap if the video isn’t stable.
Use stabilization tools during editing, especially for handheld shots. However, don’t over-stabilize to the point where motion feels unnatural.
Smooth movement builds trust. It subconsciously tells the viewer that care and effort went into presenting the property.
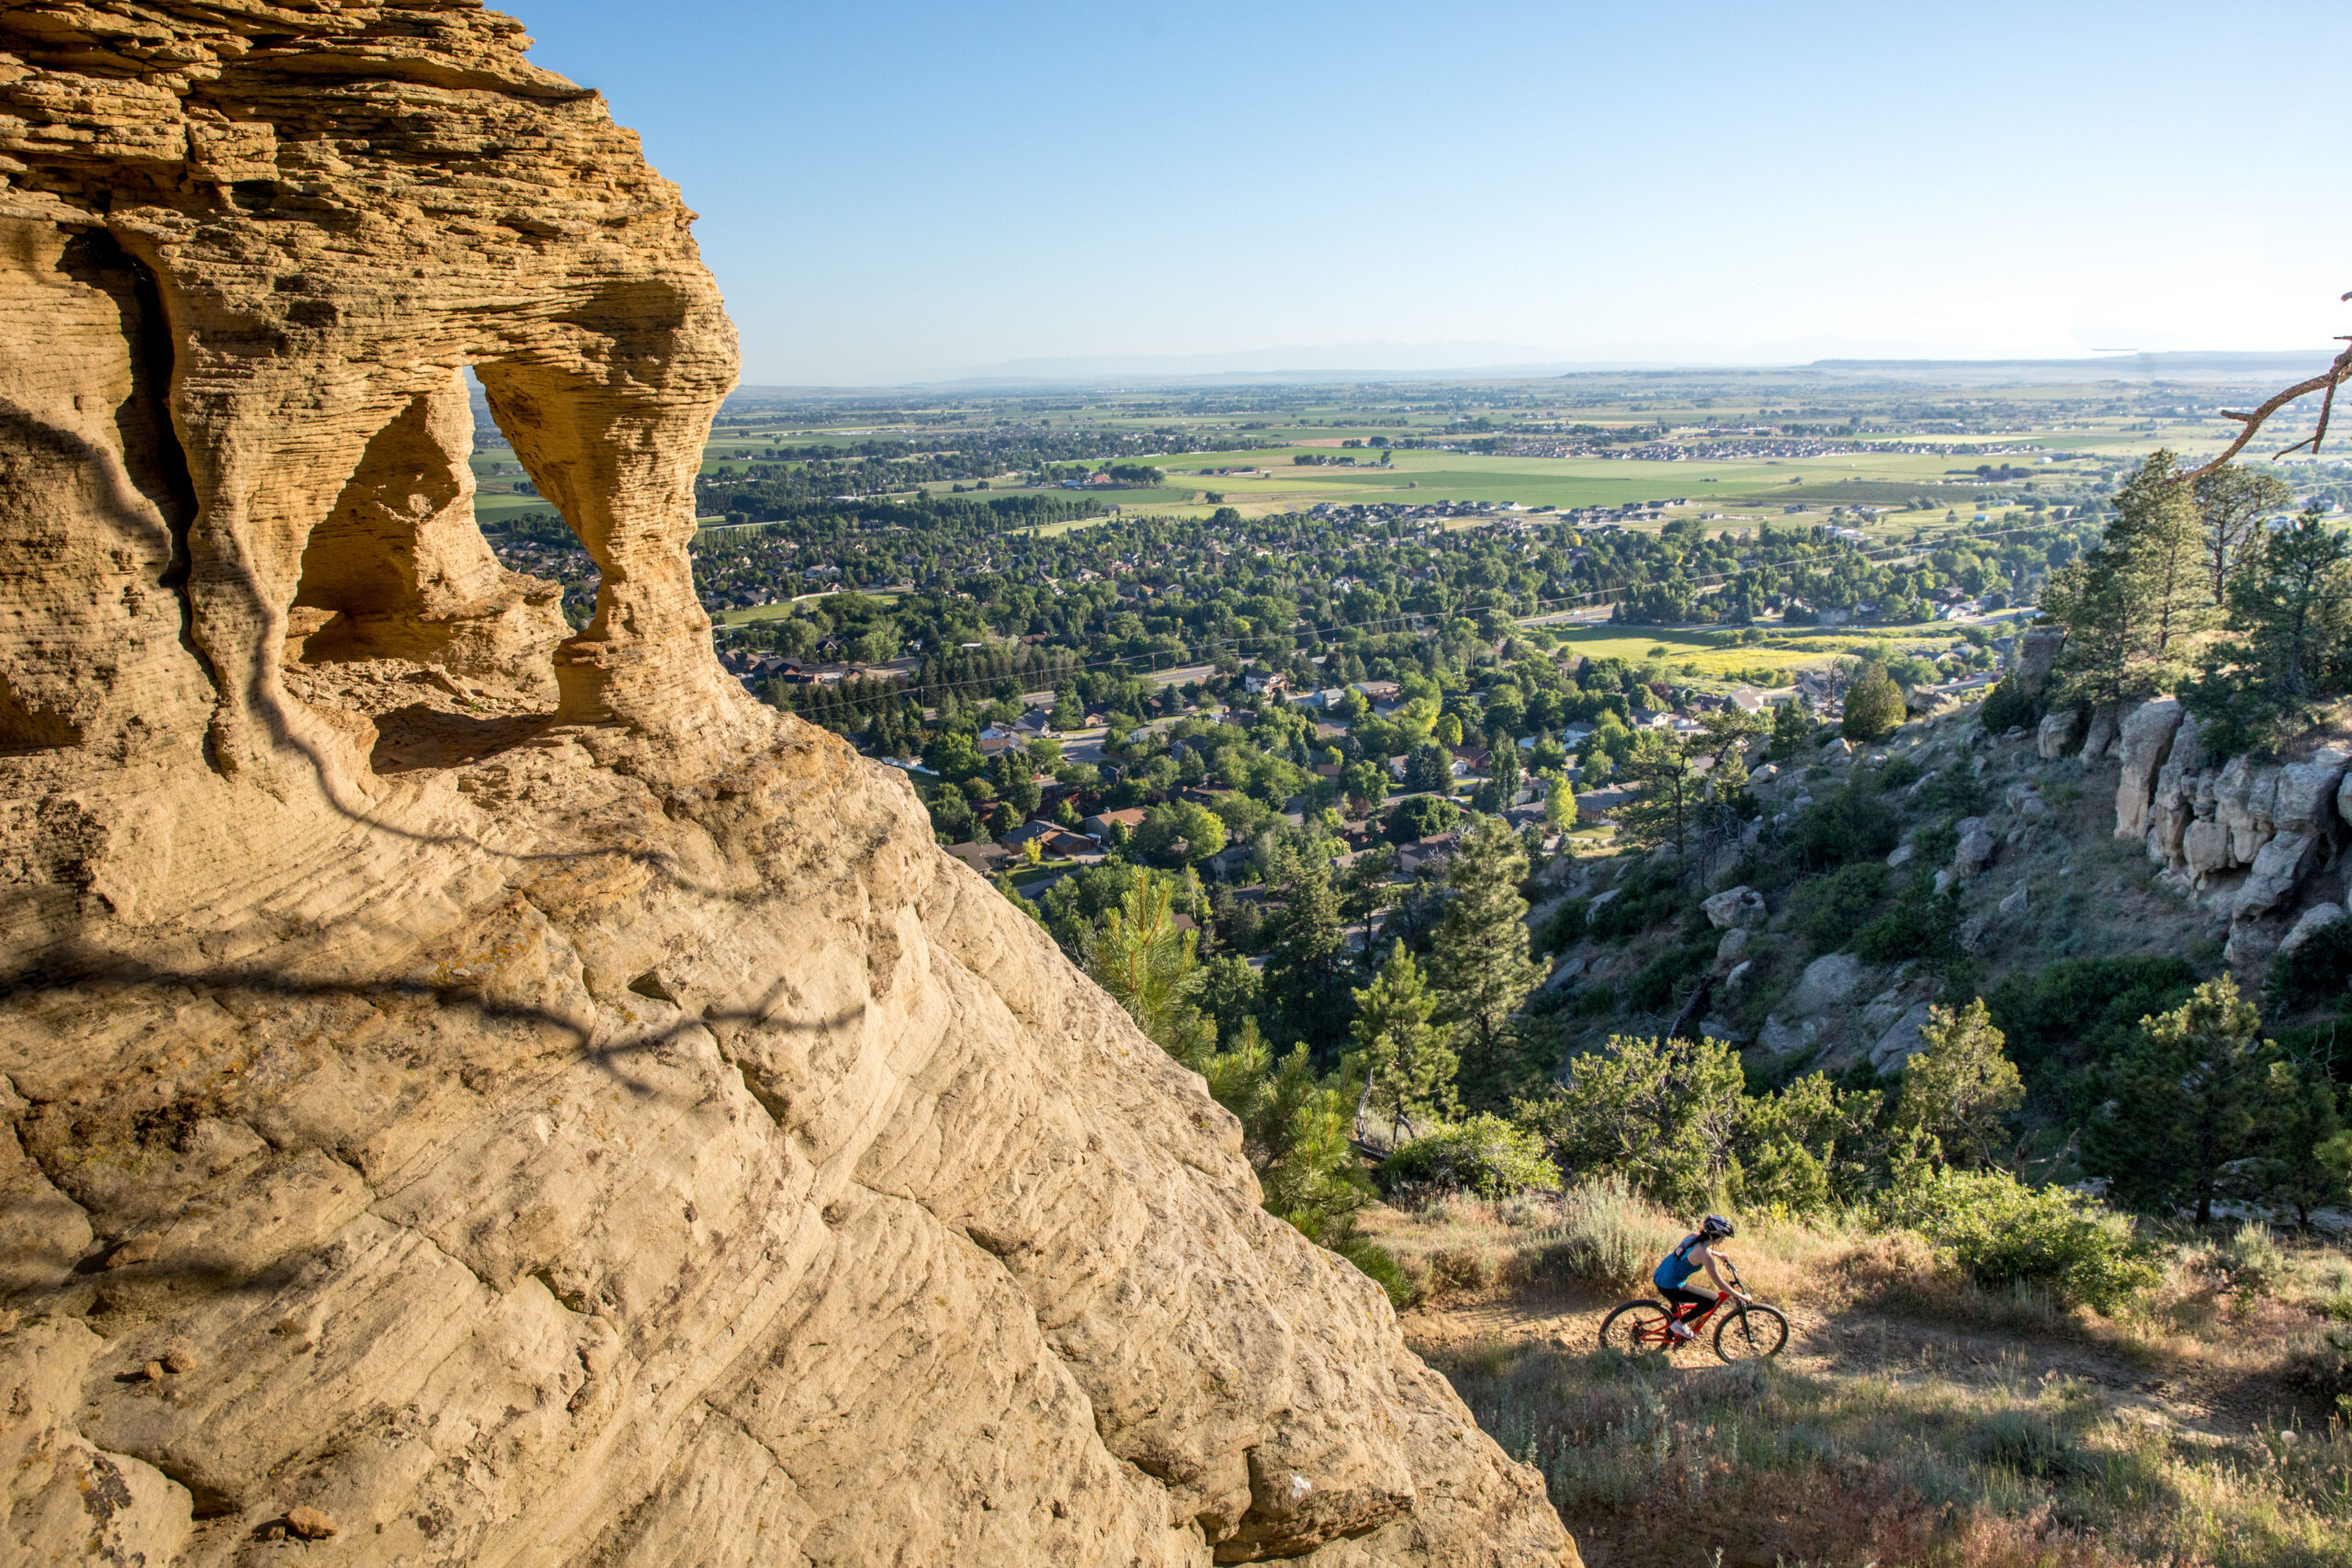
9. Use Drone Footage Only When It Adds Context
Drone shots are powerful, but only when they serve a purpose. Use them to show location, surroundings, plot size, or nearby amenities.
Avoid unnecessary aerial footage that doesn’t add information. A slow, well-framed drone shot is far more effective than multiple high-altitude spins.
Think of drone footage as context, not decoration.
10. End With a Clear Call to Action
A strong ending gives direction. Don’t let the video just fade out.
End with a simple call to action such as scheduling a viewing, contacting the agent, or visiting a listing page. This can be done with text, voiceover, or both.
Keep it subtle and professional. The goal is to guide the next step, not pressure the viewer.
Why Editing Matters More Than Filming Alone
Many people focus heavily on camera gear and forget that editing is where the story is shaped. Editing controls pacing, emotion, and clarity.
A well-edited video builds trust. It helps buyers feel informed and comfortable before they ever step inside the property. That’s why strong editing often leads to better engagement, more inquiries, and faster decisions.
Common Mistakes to Avoid in Real Estate Video Editing
Even experienced editors fall into these traps:
- Overusing effects and filters
- Inconsistent color tones between rooms
- Poor audio balance with loud music
- Showing cluttered or poorly lit shots
- Ignoring mobile viewing formats
- Fixing these issues can instantly improve video quality without changing your filming process.
Final Thoughts
In this article, how to edit a real estate video, I have covered many important techniques. Real estate video editing is about restraint, clarity, and intention. Every cut, transition, and adjustment should serve one purpose: helping the viewer understand and feel the property.
When you focus on smooth flow, natural visuals, and thoughtful pacing, your videos stop being just marketing tools. They become experiences that move people closer to a decision.
Master these techniques, and your real estate videos won’t just look better. They’ll perform better.
When Professional Editing Makes Sense
If you’re managing multiple listings or working with tight timelines, handling editing in-house isn’t always practical. That’s where dedicated real estate video editing services can help. A focused editing workflow ensures consistency across listings, accurate color balance, and clean pacing, so every property is presented clearly without extra effort from your side.
FAQs- How To Edit a Real Estate Video
Q 1: What is real estate video editing?
Real estate video editing is the process of enhancing property footage by improving flow, color, stability, and sound so the home looks clear, appealing, and easy to understand for buyers.
Q 2: How long should a real estate video be?
Most real estate videos perform best between 60 and 120 seconds, long enough to show key spaces while keeping viewers engaged without losing interest.
Q 3: Does video editing really help sell property faster?
Yes. Clean and well-paced editing helps buyers visualize the space better, builds trust, and often increases inquiries compared to unedited or poorly edited videos.
Q 4: What software is best for real estate video editing?
Popular choices include Adobe Premiere Pro, Final Cut Pro, and DaVinci Resolve, as they offer strong color correction, stabilization, and export options for property videos.
The post How to Edit a Real Estate Video? A Beginner’s Guide (2026) appeared first on Property Photo Editing.
Categories
Recent Posts