The Ultimate Guide to Real Estate Video Editing

Real estate has gone beyond just glossy images and long property descriptions. Today, videos play a huge role in attracting buyers, building trust, and closing deals faster. A beautifully shot property video can make viewers feel like they’re walking through a home in real time – but the real magic happens during video editing. This guide – Ultimate Guide to Real Estate Video Editing – will walk you through everything you need to know about real estate video editing, from the basics to pro-level tips that will make your videos stand out.
Why Real Estate Video Editing Matters
In the real estate industry, first impressions are everything. Potential buyers often decide whether to explore a property further within seconds of watching a video. Editing ensures that your footage isn’t just a random sequence of shots, but a carefully crafted story that highlights the property’s best features.
Good editing can:
-
Make a small space feel spacious and inviting
-
Showcase architectural details that photos might miss
-
Create an emotional connection with viewers
-
Keep the video engaging from start to finish
The Core Elements of Real Estate Video Editing
When editing real estate videos, there are a few essential elements that every editor should focus on.
1. Flow and Storytelling
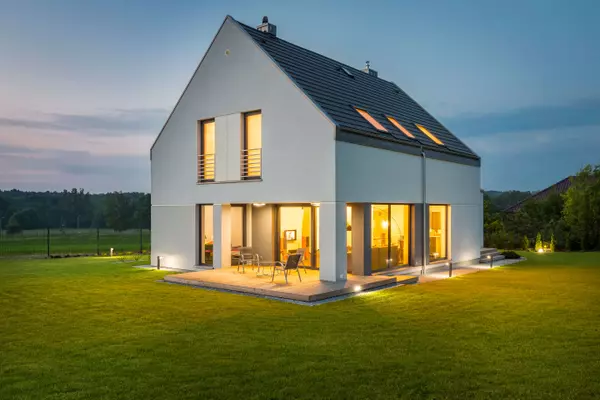
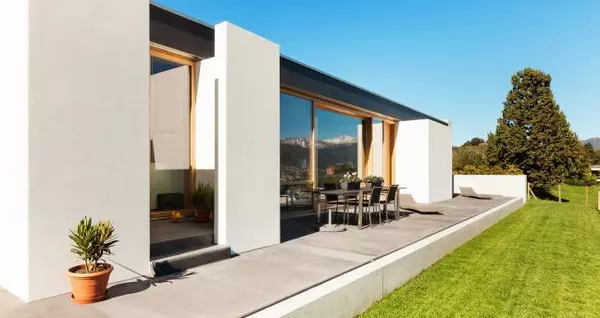
Your video should guide viewers through the property in a way that feels natural. Start with an establishing shot of the exterior, move through the main living areas, and finish with special features like the backyard, balcony, or rooftop views. Avoid jumping randomly from room to room – a smooth narrative keeps viewers hooked.
2. Lighting and Color Correction
Even well-shot videos can suffer from lighting inconsistencies. Editing allows you to adjust brightness, contrast, and color balance so the footage looks consistent and professional. A warm tone can make a home feel inviting, while cooler tones can give a modern, sleek vibe.
3. Stabilization
Shaky footage can instantly make a video look amateurish. Use stabilization tools in your editing software to smooth out camera movements. This is especially important if you’re shooting handheld or using a drone.
4. Music and Sound Design
The right background music can set the mood. Upbeat tunes work well for modern apartments, while soft instrumental music complements cozy family homes. Just make sure the audio is licensed for commercial use to avoid copyright issues. Adding subtle sound effects – like birds chirping or water flowing – can also bring the scene to life.
5. Pacing and Transitions
Fast cuts can create excitement, but in real estate videos, you generally want a steady pace so viewers can absorb the details. Use smooth transitions like cross-dissolves or fade-ins to maintain flow without distracting from the property itself.
6. Text and Graphics
On-screen text can highlight key details such as square footage, number of bedrooms, or location. Animated maps or floor plans can also help viewers understand the layout. Keep fonts clean and professional – you want the text to support the visuals, not compete with them.
Read Also- How To Clear the Background Using Photoshop- Easy Steps
Tools for Real Estate Video Editing
The good news is, you don’t need Hollywood-level tools to produce stunning real estate videos. Some popular options include:
-
Adobe Premiere Pro – Industry standard with powerful editing features
-
Final Cut Pro – Fast and efficient, especially for Mac users
-
DaVinci Resolve – Excellent for color grading and available in a free version
-
iMovie – Great for beginners with basic editing needs
-
Filmora – User-friendly and affordable with lots of built-in effects
Choose a tool that matches your skill level and budget. Most of these programs offer free trials, so you can experiment before committing.
Pro Tips to Make Your Real Estate Videos Stand Out
1. Shoot with Editing in Mind
Capture extra footage of each room from multiple angles. This gives you flexibility during editing to create a dynamic, well-paced video.
2. Use Drone Footage Wisely
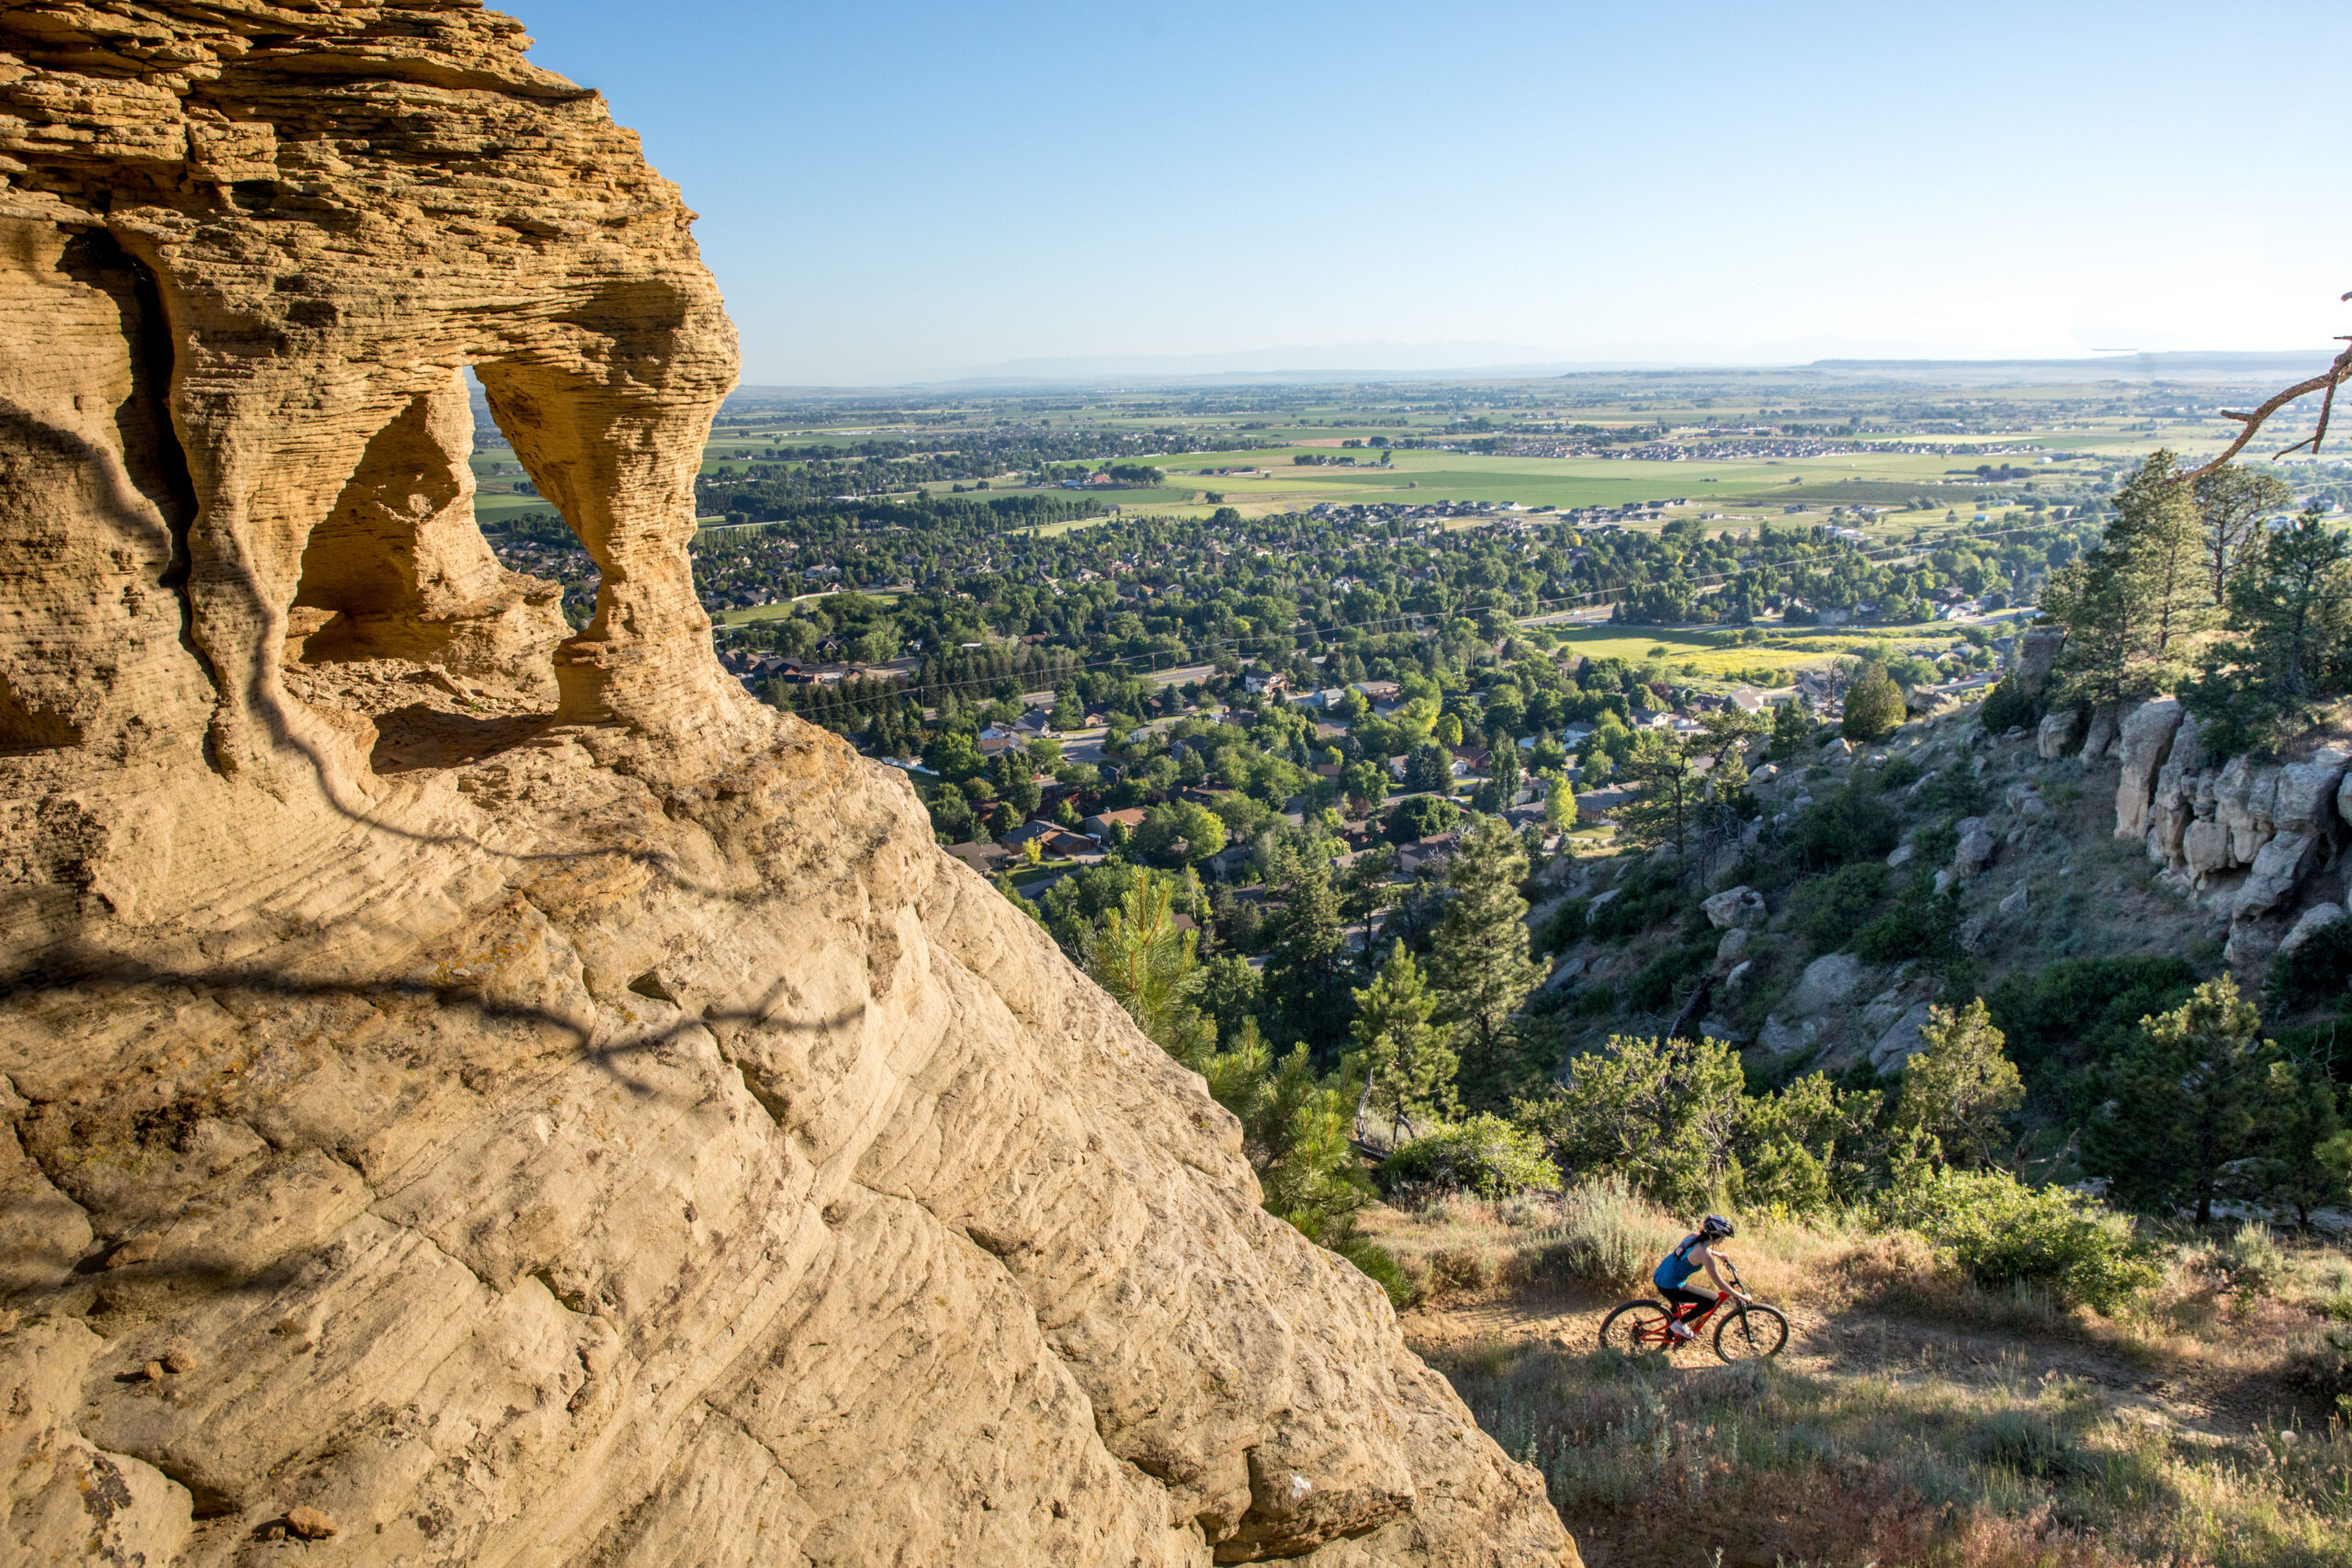
Aerial shots can give buyers a sense of the property’s surroundings, but don’t overdo it. Blend drone clips with interior shots for a complete story.
3. Highlight Unique Features
If the home has a fireplace, designer kitchen, or stunning view, make sure these features get enough screen time. Slow down the pace slightly during these moments.
4. Keep It Short and Sweet
Most viewers have short attention spans. Aim for 1-3 minutes for standard property listings, and up to 5 minutes for luxury homes.
5. Add a Call-to-Action (CTA)
End your video with a gentle prompt like “Schedule a viewing today” or “Contact us for more details.” This turns passive viewers into potential leads.
Read Also- Top 10 Benefits of Outsourcing Real Estate Photo Editing
The Role of Editing in Marketing and Branding
Real estate video editing isn’t just about making one property look good – it’s also about building your brand. Consistent editing style, color grading, and music choices can make your videos instantly recognizable. Over time, this consistency helps establish trust with your audience.
Professionally edited videos are also more shareable on social media platforms like Instagram, YouTube, and Facebook. Well-crafted content can be repurposed for reels, stories, and ads, giving you more mileage from each shoot.
Common Mistakes to Avoid
Even experienced editors can make missteps. Here are some pitfalls to watch for:
-
Overusing flashy transitions that distract from the property
-
Adding background music that’s too loud or doesn’t match the tone
-
Including too much irrelevant footage (e.g., long shots of hallways)
-
Skipping color correction, which can make rooms look dull or inconsistent
Final Thoughts
In this guide to real estate video editing, we have discussed many important factors related to the video. Real estate video editing is both an art and a science. It’s about balancing technical skills with creative vision to produce videos that not only look amazing but also drive results. Whether you’re an agent looking to stand out in a competitive market or a videographer aiming to offer premium services, mastering the editing process will pay off in more engagement, more leads, and faster sales.
The key is to keep learning, experimenting, and refining your style. With the right techniques and tools, your real estate videos can become powerful storytelling tools that bring properties to life – and help you close deals faster.
FAQS- Ultimate Guide to Real Estate Video Editing
Q1: What is real estate video editing?
It’s the process of enhancing property videos to highlight features and attract buyers.
Q2: Which software is best for beginners?
iMovie, Filmora, and DaVinci Resolve (free version) are great starting options.
Q3: How long should a real estate video be?
Most should be 1–3 minutes; luxury properties can go up to 5 minutes.
The post The Ultimate Guide to Real Estate Video Editing appeared first on Property Photo Editing.
Categories
Recent Posts