5 Simple Steps to Create Dynamic Real Estate Videos
This article – simple steps to create dynamic real estate videos – explains important tips and steps related to real estate videos.
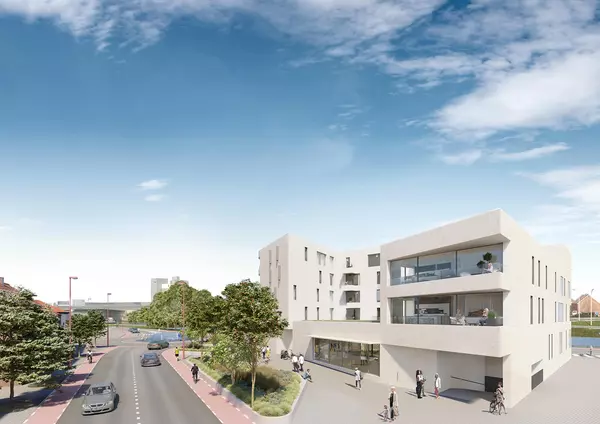
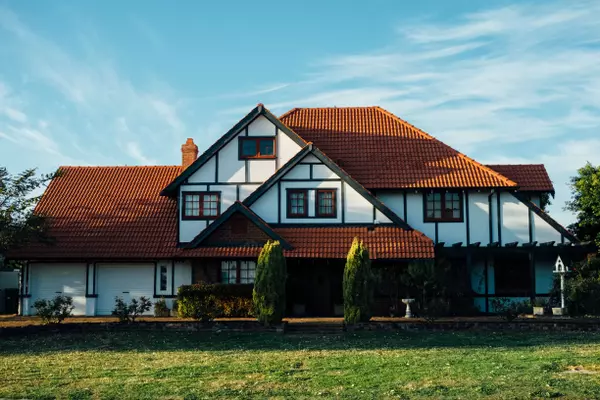
Real estate has always been a visual game. Buyers want to feel a property before they ever step through the front door – and in today’s scroll-happy world, a well-made video is the fastest way to make that happen. If you’ve been relying on static photos alone, you’re leaving serious engagement (and potential commissions) on the table.
The good news? You don’t need a film crew or a Hollywood budget. With the right approach, anyone – from solo agents to boutique brokerages – can produce content that stops thumbs mid-scroll. Here are five practical steps to help you create dynamic real estate videos that actually convert.
What is Real Estate Video Editing?
Real estate video editing is the process of transforming raw property footage into a polished, story-driven visual that attracts buyers. It involves cutting unnecessary clips, adjusting colors, syncing background music, adding text overlays, and arranging scenes in a logical flow. Think of it as the difference between handing someone a pile of ingredients versus serving them a finished meal. A well-edited video doesn’t just show a property – it sells a lifestyle, builds trust, and makes buyers genuinely excited to schedule a showing.
Why Real Estate Video Editing Matters?
In a market where buyers scroll through dozens of listings daily, first impressions are everything. A professionally edited video holds attention far longer than static photos and communicates quality before a buyer even reads the description. It signals that the agent is serious, the property is worth their time, and the experience of working together will be equally polished. Simply put, strong video editing turns casual browsers into motivated buyers – and that directly impacts how fast a property sells and at what price.
5 Simple Steps to Create Dynamic Real Estate Videos
Here are five simple steps to create dynamic Real Estate Videos:
Step 1: Plan Your Story Before You Pick Up the Camera
The single biggest mistake agents make with property videos is treating them like a slideshow- room after room, no narrative, no emotion. Great video tells a story. Before you shoot a single frame, ask yourself: Who is this home for, and what is their life going to look like here?
A three-bedroom near a top school district is a family home. Lead with the backyard, the kitchen breakfast nook, and the playroom. A downtown loft targets young professionals- open with the city view at golden hour, then walk viewers through the open-plan living space. The property details stay the same; the story changes based on the buyer.
Write a loose shot list. Know which rooms you’ll highlight, what order you’ll move through them, and which single “hero shot” will anchor your thumbnail or opening frame. Thirty minutes of planning saves hours of editing headaches later.
Step 2: Get Your Gear (and Your Lighting) Right
You don’t need the most expensive camera on the market, but you do need stable, well-lit footage. Shaky handheld video shot under harsh overhead lights is an instant credibility killer.
Here’s a simple, effective setup for most budgets:
- Camera: A modern smartphone (iPhone 15 Pro or a comparable Android) shoots stunning 4K footage. A mirrorless camera like the Sony ZV-E10 gives you more control without a steep learning curve.
- Stabilizer: A gimbal- even an entry-level one- transforms your footage from amateur to polished. Smooth movement signals professionalism.
- Lighting: Open every blind and curtain before you shoot. Schedule exterior shots during the golden hour (the hour after sunrise or before sunset). For darker rooms, a simple portable LED panel fills in shadows without looking artificial.
- Wide-angle lens: Real rooms always look bigger through a wide-angle lens. A clip-on wide-angle attachment for your phone works surprisingly well.
One practical tip: shoot each room from the doorway first, then move inward. This gives editors natural transition points and makes spaces feel larger and more welcoming on screen.
Read Also- Real Estate Video Editing Tutorial
Step 3: Capture Footage That Actually Moves
Static shots have their place, but movement is what makes dynamic real estate videos feel alive. You want viewers to feel like they’re walking through the home, not watching a PowerPoint presentation.
A few go-to movement techniques:
The slow push: Walk slowly toward a focal point – a fireplace, a kitchen island, a stunning window view. Keep the gimbal level and move at a deliberate pace.
The reveal: Start with the camera aimed at a neutral surface or outside the door, then pan to reveal the room. Reveals create a sense of anticipation that keeps viewers watching.
The orbit: Walk in a slow semicircle around a key piece of furniture or architectural detail. It adds dimension and keeps the eye engaged.
Drone shots: If the property has outdoor space, curb appeal, or a scenic location, aerial footage is worth every penny. Many markets have drone operators available for $100-$200 per shoot, and the ROI in listing inquiries is significant.
Mix static establishing shots with these movement techniques to build rhythm in your edit. A video that’s only moving can feel dizzying; alternating pace keeps it watchable from start to finish.
Step 4: Edit for Emotion, Not Just Information
Editing is where average footage becomes compelling content. Most agents make the mistake of including everything they shot. Restraint is your best editing tool. A tight two-minute video almost always outperforms a sprawling five-minute one.
Here’s a simple editing framework:
- Open strong: Your first five seconds decide whether someone watches or scrolls. Use your best shot- the hero moment, the view, the gorgeous kitchen- right at the top.
- Build a flow: Move through the property in a logical order that mirrors how a buyer would tour it in person. Don’t jump from the master bedroom to the garage to the kitchen. Let the space breathe.
- Use music intentionally: Pick a track that matches the property’s personality. Upbeat and contemporary for a modern condo; warm and acoustic for a family home. Keep it lower in the mix so it supports the visuals without overwhelming them.
- Add text overlays sparingly: Key details – square footage, number of beds/baths, neighborhood name – can be shown as clean lower-third text. Avoid cluttering the screen with excessive graphics.
- End with a clear call to action: Tell viewers what to do next. “Schedule a private showing” or “See the full listing at your website” gives interested buyers an obvious next step.
Free tools like DaVinci Resolve and CapCut handle everything most agents need. Adobe Premiere Pro and Final Cut Pro are worth the investment if you’re producing videos regularly.
Step 5: Distribute Strategically- Then Track What Works
Creating dynamic real estate videos is only half the equation. Where and how you share them matters just as much as the content itself.
YouTube should be your primary platform. It’s the second-largest search engine in the world, and a well-optimized video can surface in search results for years. Use keyword-rich titles (e.g., “3BR Family Home for Sale in New York – Virtual Tour”), write detailed descriptions, and add relevant tags.
Instagram Reels and TikTok favor short-form content. Cut a 30–60 second highlight reel from your main video for these platforms. Hook viewers in the first two seconds with your best visual.
Facebook still drives significant real estate traffic, particularly among buyers aged 35–55. Share videos natively (uploaded directly to Facebook, not linked from YouTube) for maximum organic reach.
Email newsletters featuring embedded video thumbnails see dramatically higher click-through rates than text-only emails. Even a static thumbnail linked to your YouTube video makes a measurable difference.
Track your metrics – views, watch time, click-throughs to your listing – and study what resonates with your audience. Over time, patterns will emerge: maybe drone-led videos get 40% more inquiries, or that your Tuesday morning posts consistently outperform Friday ones. Let real data shape your strategy.
Final Thought
The agents consistently winning listings in competitive markets aren’t necessarily the most experienced – they’re the ones who show up with better marketing. Dynamic real estate videos give you a tangible edge: they build trust before the first handshake, showcase properties in their best light, and reach buyers you’d never connect with through photos alone.
Start simple. One property, one story, five steps. The quality of your content will grow quickly – and so will your results.
Looking for Real Estate Video Editing Services for your property, our experts will help you in every possible way.
FAQs: Dynamic Real Estate Videos
Q1: How long should a real estate video be?
For listing videos, 1–2 minutes is the sweet spot. Social media clips perform best at 30–60 seconds.
Q2: Do I need professional software to edit real estate videos?
Not necessarily. Free tools like DaVinci Resolve and CapCut work well for most agents starting out.
Q3: What’s the most important part of real estate video editing?
The opening five seconds. If your first shot doesn’t grab attention, viewers won’t stick around for the rest.
Q4: Can drone footage really make a difference?
Absolutely. Aerial shots add context, showcase outdoor space, and give listings a premium feel that stands out in crowded markets.
Q5: Should I hire a professional video editor or do it myself?
Start by doing it yourself to learn the basics. As your volume grows, outsourcing editing frees up your time for higher-value tasks like client relationships and closings.
The post 5 Simple Steps to Create Dynamic Real Estate Videos appeared first on Property Photo Editing.
Categories
Recent Posts